Domorela's Blog: Scenes configuration
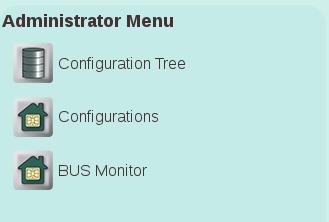
Operators and Administrators are allowed to define new scenes in Domorela's WUI. As we said in our previous article, to do this they can access to the Administrator Menu, so the Top Menu includes an extra option called Administrator Menu.
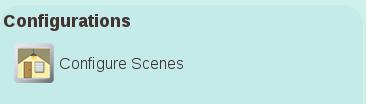
Scenes can be configured from scratch by any operator or administrator level user by accessing the Configure Scenes option in the Configurations Menu present in the Administrator Menu.
The Configure Scenes option opens a Selector View showing all the Group Addresses imported in the configuration of Domorela as Available Objects that can be transferred to a list of Selected Objects, a reset check box, a selection box with all the scenes present in Domorela's configuration and a Validate Button.
Controls are very intuitive, it's possible to filter Group Addresses by any character in his name, select one or more of them and transfer by using the Add button (1st in the middle) or transfer all the filtered Available Objects by clicking the Add All button (2nd in the middle). It's also possible transfer a single object by dragging it from Available Objects to Selected Objects. Dragging objects allows to insert them between objects previously selected, also to move them up and down in the Selected Objects list. This allows to order them within the scene, so they will be shown following this order in the Scenes View.
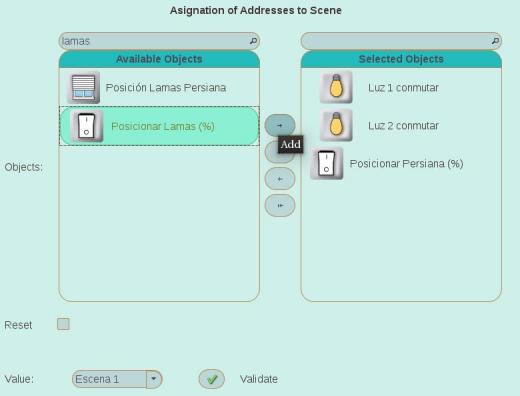
If you want to remove objects from Selected Objects list, you can do the same actions in the opposite direction using Remove (3rd button in the middle), Remove All (4th button in the middle) or dragging from Selected Objects to Available Objects. Note that the objects returned to the Available Objects list are dropped in the bottom of the list.
If you want to configure a scene for the first time or simply to add new Group Addresses to a previously configured scene, leave unchecked the Reset checkbox. If you want to change a previously defined scene or correct any mistake, then check the Reset checkbox.
Once the Selected Objects are the correct ones, select the correct Value of the scene by using the selection box on the bottom and click on the Validate button. If you want to define several scenes with same Group Addresses, you simply need to select a new scene then click the Validate button. Note that the recorded value of every Group Address in the scene will be the current one and, if the value is "unknown" (i.e. hasn't read yet), it will be read now to record it on the scene.
Finally, to stablish the values of every Group Address in every scene you need to open Scenes View, select the scenes being configured, apply the desired values and click on the Save Scene. Note that if you are configuring a single scene you can set the values before to go to the Configure Scenes